Instant Pot Pulled Pork

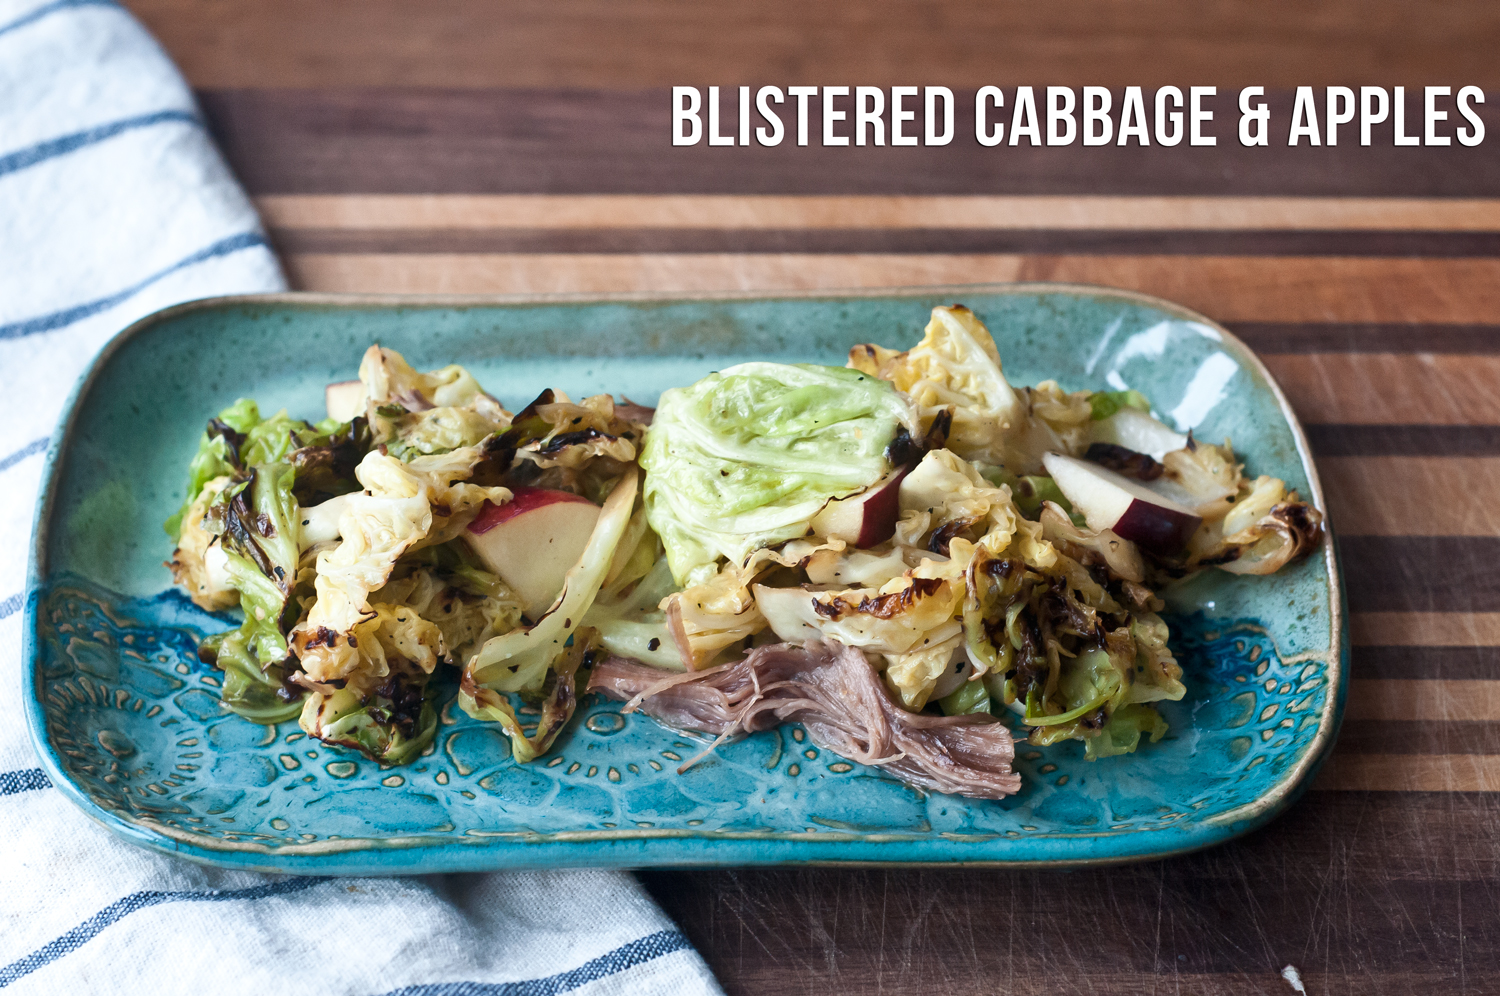
My DH bought me a new toy this Christmas: the Instant Pot. So far, I’m a fan. I’ve made bone broth, which was as delicious as it was quick; this pork, which was really good and way quicker than my slow-cooker method; and a tasty little Thai curry dish I’ll be sharing soon.

And, since this thing cooks so quickly, I have enough extra broth on hand to finally have a go-to stockpile. Whoo hoo!

2015/01/img_8472.jpg

Gluten-free, paleo, Whole30

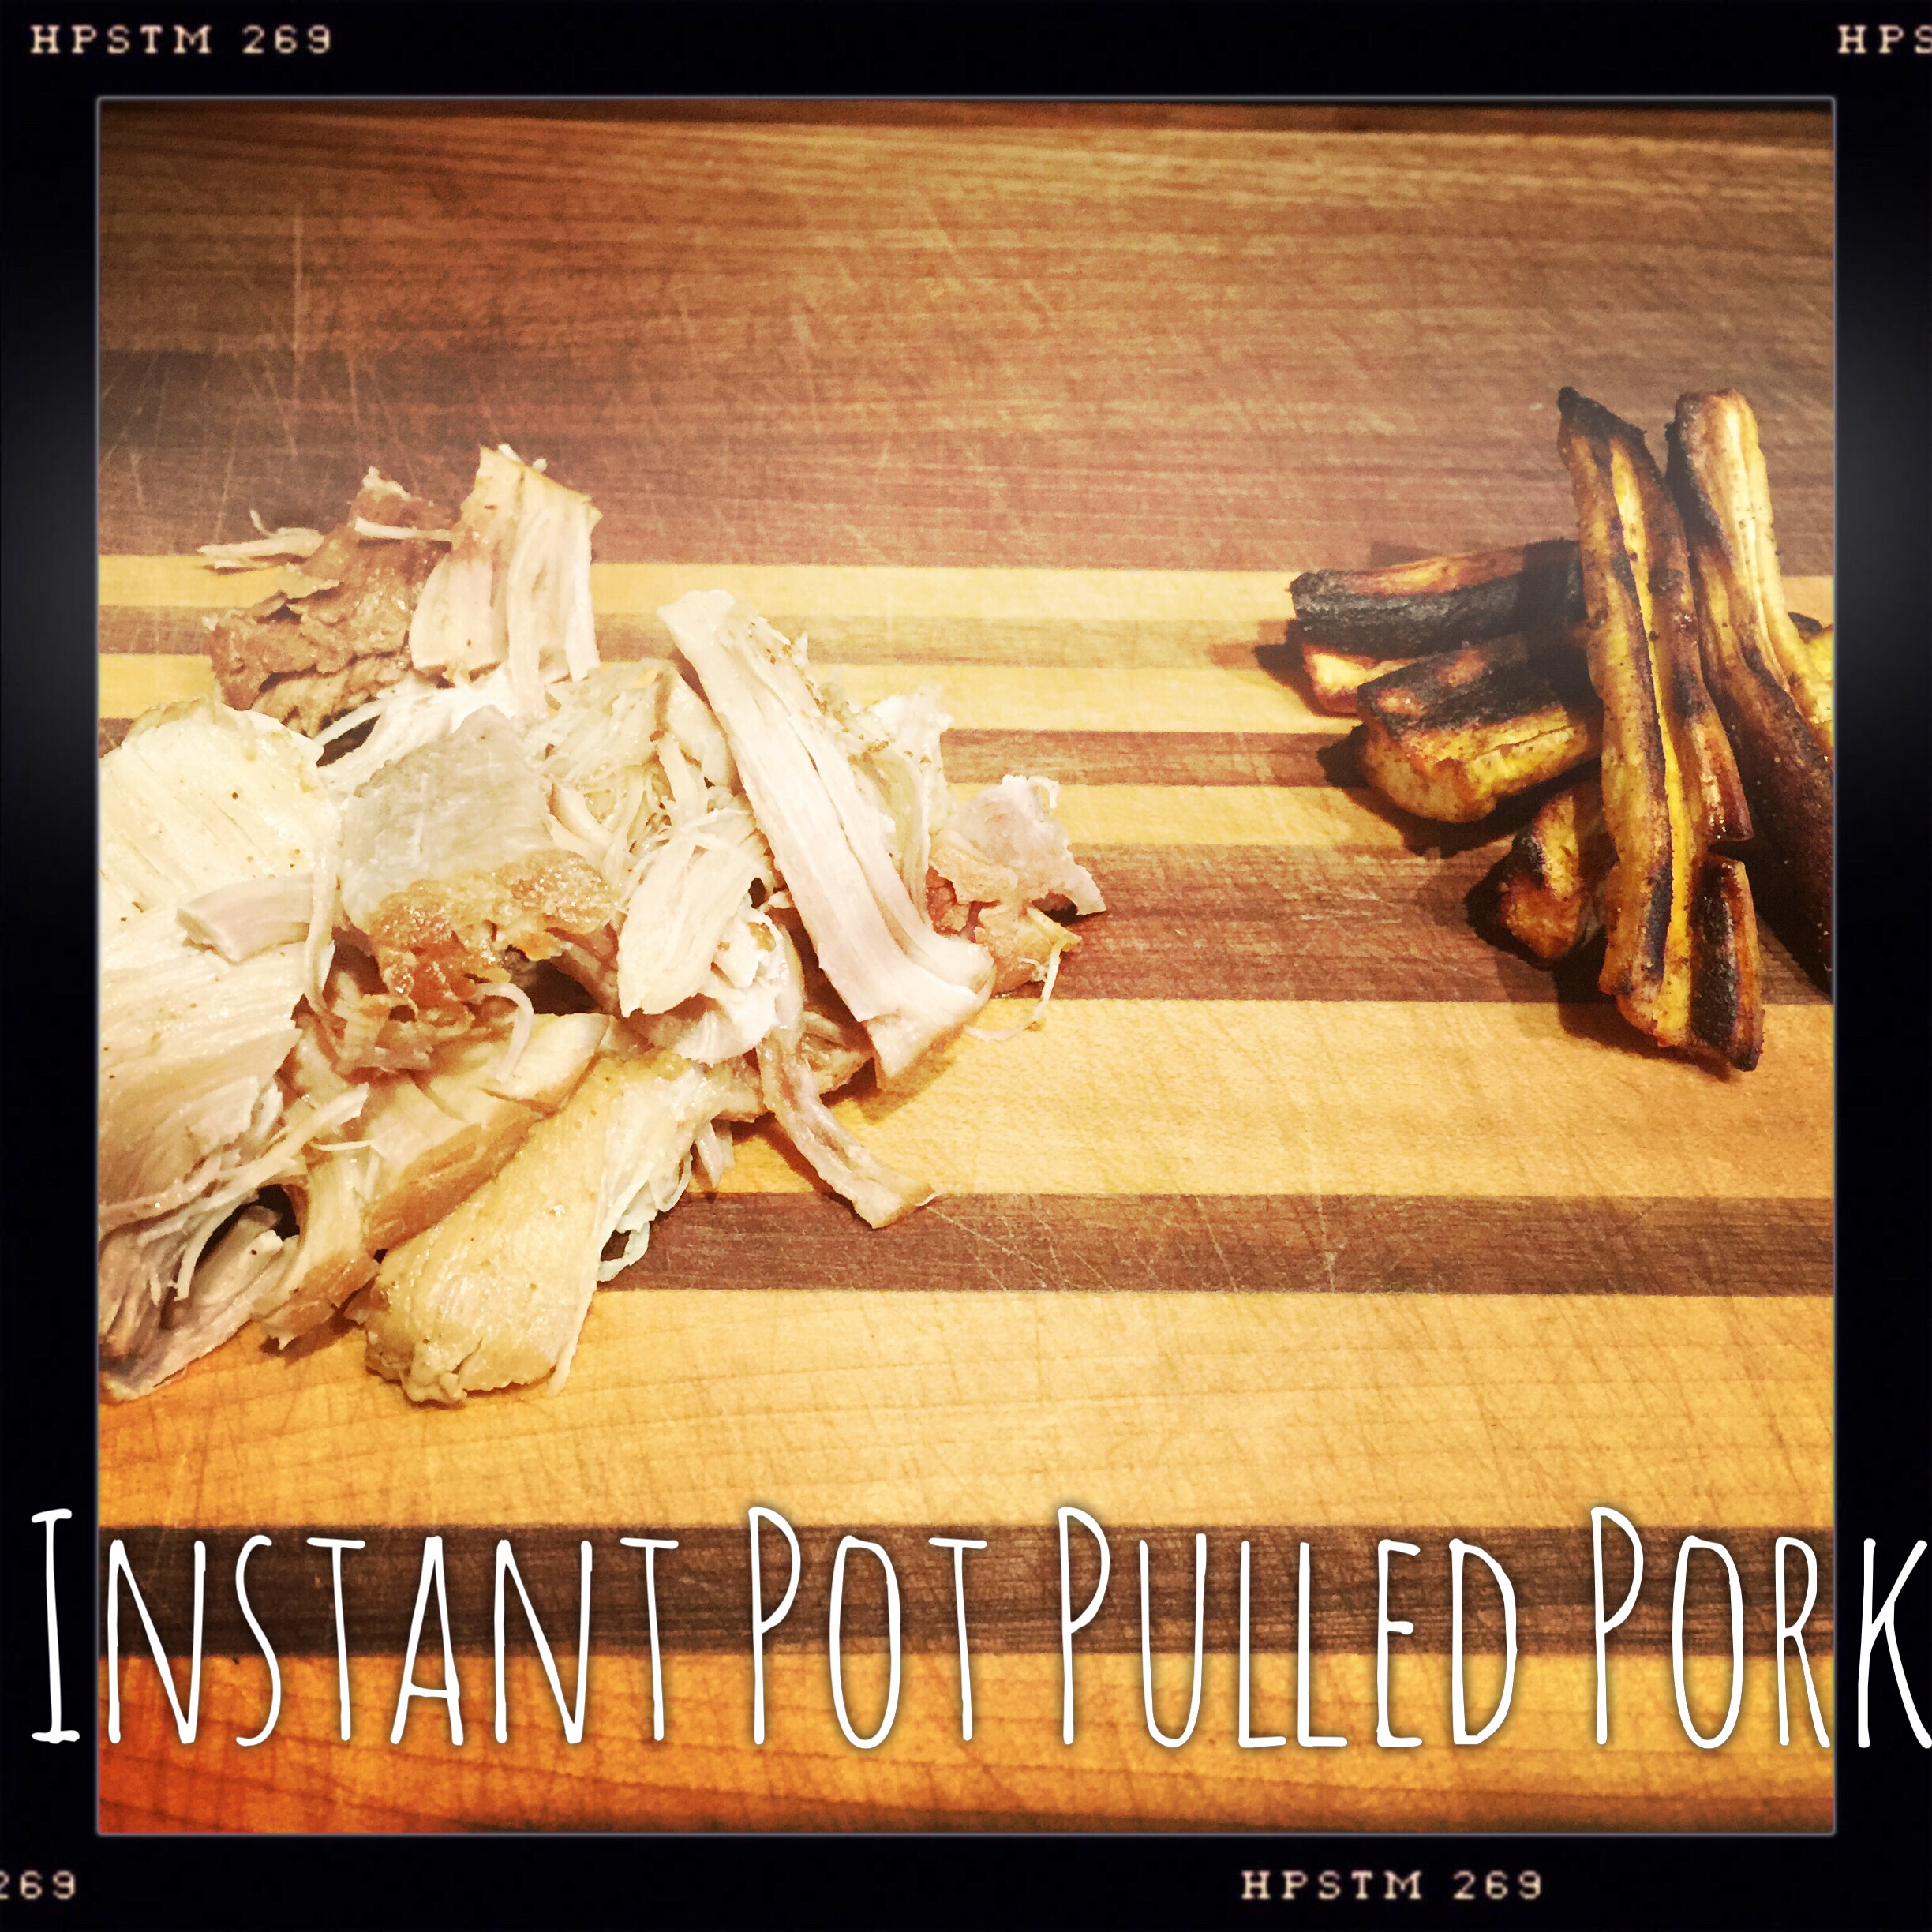
Instant Pot Pulled Pork with Spiced Roasted Parsnips

Pork
3-4 lbs. pork shoulder, trimmed of skin
1/2 c. broth
2 Tbsp. apple cider vinegar
1 Tbsp. fish sauce (Red Boat is W30 compliant)
1 Tbsp. chipotle powder
2 Tbsp. chili powder
1 tsp. salt
10 grinds black pepper
2 Tbsp. garlic powder
1 Tbsp. onion powder
2 Tbsp. coconut oil

Parsnips
1 lb. bag parsnips
2 Tbsp. Ras el Hanout spice mixture
2 tsp. hot Hungarian paprika
2 tsp. walnut oil
Big pinch salt

Press the Saute button to preheat the cooker. When “Hot” appears on the display, add the coconut oil and brown your meat.

Add the spices and liquids and seat the lid on the pressure cooker.

Press the Manual button and use the + button to program 90 minutes cooking time.

While your pork is working, make the parsnips. Preheat your oven to 450 F and line a baking sheet with foil.

Cut parsnips into 3-inch sticks.

Toss on the baking sheet with the oil and spices and spread evenly, making sure all are in a single layer.

When the oven is heated, bake 10 minutes, flip, and bake an additional 10 minutes.

When the finished beep sounds, it is best to let the machine release its pressure naturally if possible (takes about 20 minutes). Always check to make sure the pressure valve has dropped before removing the lid.


Crispy Lemon-Thyme Brussels Sprouts

Mmmmmmm…… lil baby cabbages. If you haven’t noticed, I love brussels sprouts. Luckily, so does my DH – so we have them quite often around here; generally just cooked simply with a little bacon grease or ghee and tossed with mustard. And they’re delicious.

But this time I wanted to go French-ish and wanted some crunchy bits to serve as a contrast for the wine-braised short ribs I made.

This recipe was intended to serve as a side for two, but as providence would have it the hubbs was called away at the last minute, and I got to eat the whole damn thing myself. And eat it all I did. With delight.

Vegetarian, Vegan, Gluten-free, Paleo, Whole30

IMG_0074

Crispy Lemon-Thyme Brussels Sprouts

1 bunch brussels sprouts (I had about 2c)
1 Tbsp. coconut oil
Kosher salt & pepper
1/4 a preserved lemon
2-3 sprigs fresh thyme
Preheat your oven to 400 F.

Rinse the brussels and quarter or halve so you end up with roughly half inch portions. Toss in the coconut oil and sprinkle with salt and pepper. Arrange on your baking sheet – making sure not to crowd – so that you have room for air to circulate between each piece. Bake 10 mins, stir and bake another 10 minutes. Check. If they’re crispy now, great, take them out. If not, let go a couple more minutes until they’re crispy but not incinerated.

While the brussels are working, mince your preserved lemon (you want 2 Tbsp.) and chop the thyme (1-2 Tbsp.).

When the brussels are ready, toss with the lemon and thyme and serve.

Allegedly serves 2

Rosemary And Preserved Lemon Pork Stir-Fry

This week’s recipe was a fluke. Not what I’d planned (though, admittedly, I didn’t have much in the way of a plan). My DH got called out to work and wouldn’t be home for dinner, so I grabbed bits and bobs left over in the fridge and cobbled something together. I had originally thought to go Asian in inspiration, since that’s my most comfortable fallback – but then I saw the half-dead packet of rosemary sadly staring at me from the cheese drawer and knew I should use that instead.

So behold – a Fr-talin-ican inspired stir-fry using up some fridge staples. And a glimpse into the kind of flavor experiments I conduct when I’m alone – inspiration totally cribbed from this great series on Lady and Pups.

Gluten-free, paleo & Whole30 

IMG_8263.JPG

Rosemary And Preserved Lemon Pork Stir-Fry

6 ounces thinly sliced pork chops, cut into strips
2 medium carrots, sliced on the bias about 1/8″ thick
2 stalks celery, sliced on the bias about 1/8″ thick
1 tsp cumin
1 sprig rosemary, chopped
1-2 Tbsp. preserved lemon, minced
1 Tbsp. coconut oil
Salt & pepper

Heat a cast iron skillet or other large pan over medium-high heat and add the oil. Add the carrots and cook, stirring frequently, 2 minutes or until they look like they’re beginning to soften (I prepped my celery, rosemary and lemons here).

Add the celery and cook, stirring frequently, a couple of minutes (I prepped the rest of my ingredients here).

Add the pork, 2 big sprinkles salt, a few grinds black pepper and the cumin and toss.

Cook, stirring frequently, until the carrots are browned and soft and the pork is cooked through.

Serves 1 for dinner

Bacon-Wrapped Butternut Squash

I, dear friends, have been saddled with a squash nonbeliever.

I did it to myself, really. I *knew* my DH harbored this character flaw way back when he was only ‘the boyfriend’, and chose to ignore it – to deal with this injustice later; to blindly turn my eye to the potential battleground that would become dinner and forge ahead.

This squash distainer sits at my dinner table (who am I kidding? the couch) every night during the fall, hoping whatever huge wintery monstrosity made my eyes shiny at the grocery store/farmers’ market the weekend before is not making an appearance on his plate. And then it does, and the poor guy does what he can with it. Funky textures, sweetly savory tastes and all.

This dish is an olive branch of sorts – a peace offering for the many, many hashes and roasted lumps of undesirables I make my longsuffering DH consume each year when the mercury dips below 50. For the broken promises of crispiness; the bait-and-switches that come when silky purees don’t have the expected flavor profile.

Who doesn’t love bacon? And if you have to eat squash to get it, maybe that bacon fat-basted root veggie won’t be so bad.

Gluten-free, paleo, Whole30 if you luck up and can get compliant bacon

_DS35558w

Bacon-Wrapped Butternut Squash

1/2 a large butternut squash
6 slices bacon
Salt
Pepper
Chili powder

Preheat your oven to 400 F and line a cookie sheet with parchment paper.

Now attack your squash. Peel with a vegetable peeler, lop off the ends and cut into half width-wise (you should have two big hunks of squash – 1 with seeds and 1 without). Cut your seedless half into half again and then into large fry looking wedges.

Reserve the other half for another purpose (a nice hash, perhaps).

Cut your bacon into half so you end up with 12 slices.

Wrap a slice of bacon per wedge – my large butternut yielded 12 good wedges; perfect for the amount of bacon I had on hand. When wrapping, make sure both ends wind up on the same side and put that side down on the prepared baking sheet.

Sprinkle with chili powder, salt and pepper.

Bake for 30 minutes (or until the squash is soft and the bacon is done), kick your broiler up to high, and broil 5 minutes on each side to finish crisping the bacon and brown the edges of the squash.

Serves 3


Delicata, Pomegranate & Arugula Salad

This salad is sweet, tart, fatty & salty and strikes a great balance between the carbs & fat you want when the weather turns cold, and more virtuous things like fresh greens.

Vegetarian, vegan & paleo with omissions; gluten-free with none

_DS35559w

Delicata, Pomegranate & Arugula Salad

1 delicata squash
Arugula
1 pomegranate
Pecorino, romano or other salty aged cheese
Pomegranate molasses
Optional pulled meat of some sort – I used pork like this, this would also be fantastic
Olive oil
Salt & pepper

First, start your squash.

Preheat your oven to 425 F. Line a cookie sheet with foil.

Slice the ends off your squash and push the seeds out with a spoon. Slice into 1/4-inch rounds.

Lay squash rounds in a single layer on your prepared sheet – making sure not to crowd; brush with olive oil and sprinkle with salt & pepper.

Bake 20 minutes, flip, and bake another 20 minutes or until browned and nutty on both sides.

While the squash is working, de-seed your pomegranate (my favorite method is to roll the pomegranate on a cutting board to loosen the seeds, cut in half, and whack with the back of a wooden spoon. Not only cathartic, this method is really quick and only a little splattery).

Reheat your pork (I prefer crisping it up a bit either under the broiler or in a pan on the stovetop) and gather the rest of your ingredients.

When the squash is crisped, pull from the oven and start assembling your salad. I used about a cup of arugula, 6-8 slices of squash, a hand full of pomegranate arils, a Tablespoon or so of cheese, and a drizzle of pomegranate molasses. Enjoy.

Depending upon the size of your squash, serves 2-4. My squash was on the small side and I was hungry, so it served 2. 


Burnt Radicchio Salad with Pear and Maple

This recipe was born out of the need to burn fall with fire. Call it bleeding frustrations, getting rid of demons, or just simply not getting enough fire with my wintery weather while on vacation, but I came back with an urge to burn things – specifically, food things.

Why so destructive? Slightly burnt around the edges radicchio is fantastic. So are toasted nuts. And butter. And pears – I thought long and hard about caramelizing these, too, but since no one has seen fit to festoon me with a blowtorch it didn’t happen. It might in the future, though. Maybe Santa will bring the gift of fire.

Gluten-free, paleo, vegetarian friendly, vegan friendly

_DS35545w

Burnt Radicchio Salad with Pear and Maple

1/2 head of radicchio
Drizzle olive oil
1/4 c. crushed pecans
1 Tbsp. ghee
1/2 pear
Drizzle maple syrup
Kosher salt & black pepper
Leftover flank steak (optional but delicious)

Set your broiler on high and tinfoil a cookie sheet. De-stem your radicchio and cut into two chunks. Place onto the prepared sheet, drizzle with olive oil and sprinkle with salt and pepper. Broil 5-6 minutes, or until blistered and burning at the edges. Not incinerated, just lightly burnt around the top and edges.

While your radicchio is burning, toast your pecans in the ghee over medium-high heat until they smell nutty. Remove from the heat.

Slice your flank steak and pear into thin slivers.

When the radicchio is done, chop into bite-sized pieces and add to a serving vessel. Top with the sliced pear, flank steak if you’re using and pecans. Drizzle with a teaspoon  or so of maple syrup and hit with another pinch of salt and few twists of pepper. Viola.

Serves 1 for lunch

Blistered Cabbage & Apples

Yay, fall. This dish makes a satisfying lunch “salad” or dinner side dish, and just screams fall to me. And it’s quick – plus easy. A big win in every category.

Vegetarian, gluten-free, paleo

_DS35455w

Blistered Cabbage & Apples

1 small head cabbage (about 2c. when shredded)
1 Fuji apple
2 Tbsp. ghee
1 tsp. apple cider vinegar
2 pinches kosher salt
Few grinds steakhouse seasoning
1 tsp caraway seeds

Wash, core and shred the cabbage. De-seed and chop the apple.

Heat the ghee in a large pan over medium-high heat. Add the cabbage, hit with salt and a few grinds of your favorite steakhouse seasoning and sauté, stirring occasionally, 5-10 minutes or until softened and blistered in places. You could also broil the cabbage here to the same effect.

In the last few minutes, add the apple, vinegar and another shot of salt. Stir and continue to sauté until the apples are almost tender.

Serves 1-2 for lunch or 2-3 for dinner.

Spicy Chard & Cabbage Slaw

It must be the Southerner in me, but every time I think ‘pulled meat’ (hee hee) I think ‘slaw’. This week, I made pulled beef as my big multi-meal protein, and was graced with some really nice cabbage and chard in this week’s CSA box.

Slaw it is, and what better kind than spicy?

Vegetarian, Vegan, Gluten-free, Paleo (swap aioli for strict)

_DS35433w

Spicy Chard & Cabbage Slaw

1/2 small head cabbage
1/2 bunch rainbow chard
4 scallions
1 small bell pepper
2 cloves garlic
Fresh black pepper

For the dressing

2 Tbsp. mayo (I used Just Mayo, which is pretty great and not filled with a bunch of crap – it’s not strictly paleo (contains canola oil & tiny amounts of sugar & pea protein), but it is good and waaaaayyyy more convenient than my futile attempts at making aioli)
3 tsp. sriracha
2 Tbsp. lemon juice
2 Tbsp. water
2 pinches kosher salt

Core and shred the cabbage and add to a large bowl. Ribbon the chard and add. Thinly slice the scallions and add. Julienne the pepper and add. Mince the garlic and add. Toss with a few cracks black pepper.

In a smaller bowl, whisk together the mayo, sriracha, lemon juice, water and salt.

Drizzle the dressing over the slaw and toss with your hands to combine.

Serves 4 as a side or 2 as a bigass salad

Shredded Potato & Scallion Waffles

Mmmmm….. waffles. Savory, savory waffles. It should come at no surprise that I’m not a huge fan of a sweet waffle – dessert for breakfast has never really appealed to me (plus: that much sugar has pretty much always made me sick), but breakfast for dinner – now that’s a different story. Bring it.

This waffle came about because I was craving waffles, wanted a sandwich, and haven’t found a paleo bread I actually want to eat as part of a sandwich. To me at least, white potatoes aren’t really paleo – but they *did* come in my last CSA batch, so they needed to be eaten. This waffle is the perfect delivery system (and a good way to make sure you don’t go carb crazy!) I served 1/2 a waffle with a nice spicy kale & chard salad (recipe coming soon) and pulled beef – for a dinner that was decadent, delicious, and wholly satisfying.

Rock on, potatoes, rock on.

Paleo-ish (you could totally swap the white potatoes for sweet here), vegetarian, vegan (swap the fat)

_DS35444w

Shredded Potato & Scallion Waffles

2 russet potatoes
4 scallions
Kosher salt & fresh black pepper
Ghee

Peel and shred the potatoes (I used the shredding disc attachment for my food processor and would highly recommend going this route). Press between paper towels to get as much liquid as possible out.

Dump into a large bowl. Thinly slice the scallions, adding to the bowl when finished.

Toss to combine. Hit with some salt and a few grinds black pepper. Toss and hit again.

Preheat your waffle iron to medium. When it beeps, brush both sides of the hot iron with ghee.

Put half the mixture on the iron bottom, making sure to distribute evenly. Close and flip.

Cook 10 minutes, check to see if golden brown and crispy. If so, cool, you’re done. I needed 10 additional minutes on mine.

Cut into quarters and serve.

Serves 4 (half waffle portions)

Miso Pepita Broiled Squash

I know I have a winner on my hands when the first taste of something horrifies my mouth – but subsequent tweaks and tastes cause me to salivate, eat too much, and wind up having to pour water over the bowl to cease the smorgasboarding. (sidebar: you don’t even want to know how many times I typed Smorgasburg instead of smorgasboard – I may have been living in Brooklyn too long)

Back to topic. This side is pretty great. The topping is sweet and salty and rich and a little crunchy – while the squash is a little sweet, soft and a touch velvety. The two play well nicely together.

Vegetarian, vegan, gluten-free, paleo-ish [miso is not strictly paleo (neither is rice wine vinegar for that matter), but as far as soy products go – fermented isn’t quite the devil that unfermented is. I will also love my rice wine vinegar forever, regardless of what the paleo police say]

_DS35428w

Miso Pepita Broiled Squash
Adapted from Broiled Spaghetti Squash with Walnut-Miso Glaze by Saveur

1 medium butternut squash
Coconut oil
1/2 c. pepitas
1/4 c. white miso
3 Tbsp. maple syrup
3 Tbsp. rice wine vinegar
Pinch red chili flakes
Pinch kosher salt

First, prep a baking sheet with tinfoil and set your oven to heat to 400 F.

Peel your squash with a vegetable peeler, cut into two easier-to-manage hunks, and cut into potato wedge looking sizes (scooping the guts from the bell end as you go). Lay on the prepped cookie sheet and drizzle a little coconut oil over. Toss well to coat. Sprinkle with kosher salt.

Bake 30 minutes or until soft and just starting to brown a bit on the edges.

While your squash is baking, make the crumbly goodness.

Combine the pepitas, miso, maple syrup, vinegar, chili flakes & salt in the bowl of a food processor and pulse until combined and gravelly looking. Taste. The mixture should be weird but strangely delicious and addicting after the second taste or so.

If you need to cut the weirdness, adding a little more maple syrup would work; adding some “warmer” spices (like cinnamon or pumpkin pie spice) may also help. I kept it weird.

When your squash is done, move your rack up and kick the oven on to broil.

Top your squash with the miso pepita mixture – I used the whole batch when I made it (mostly because I was already obsessed with the taste, but in hindsight this was a wise choice).

Broil 3 minutes or so, until the top is nice and crunchy and browned.

Serves 4 as a side.