This is another of those ‘I went to the store wanting to make 1 thing, but they didn’t have half the ingredients so I adapted’ recipes. What I *wanted* was a nice barbacoa. Preferably nicely spiced and not bland (which is what usually happens when I try to make it).
Buuuuutt … the canned chipotles I saw a few weeks ago in one of the markets seem to have evaporated. Dried chilis are not happening. Should have learned my lesson from the enchiladas Turkiladas I made a few months ago and grabbed chipotles when I saw them.
Such is life. Teachable expat moments – even if I learn my lessons slowly.
This beef turned out pretty darn good, though – despite having to go back to olden times and use the oven (gasp!) instead of my electric pressure cooker that decided to up and die on me in the middle of cooking DH’s rice. The day before I was set to make this dish. I’m still not thrilled, and finding a replacement has proven itself a challenge – good thing people have been cooking meat in a liquid low and slow for thousands of years. (still whining though).
Gluten-free, paleo, keto
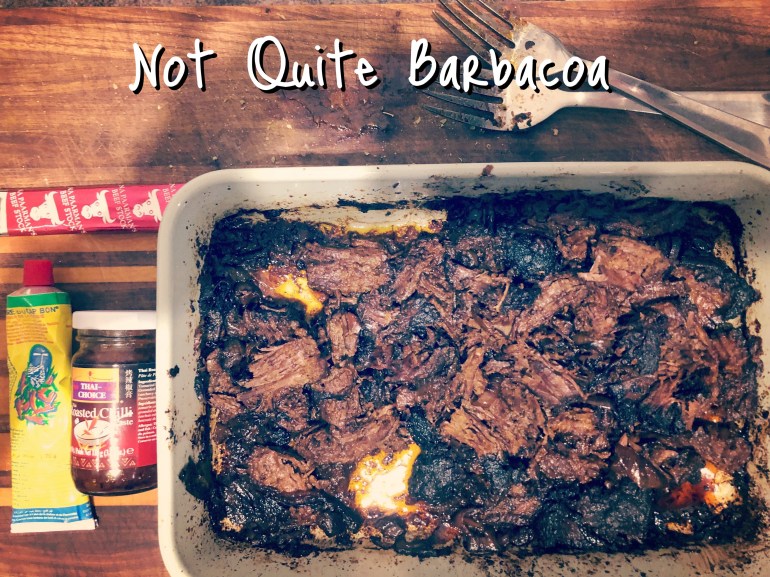
Not Quite Barbacoa
4 or so lb. beef roast
2 Tbsp. dried oregano
2 Tbsp. salt
1 Tbsp. black pepper
3 Tbsp. Thai roast chili paste (see pic)
3 Tbsp. harissa paste (see pic)
1 – 2 onions
4 – 6 bay leaves
2 Tbsp. neutral oil
1 c. beef broth
Extra water on hand
First, preheat your oven to 300F.
Then, make a spice rub out of the oregano, salt and pepper. Rub the beef on all sides with the mixture. Heat the oil in a large pan over high and sear the beef on all sides.
While the beef is working, thinly slice the onions and place in a single layer over the bottom of a casserole dish or dutch oven. Add bay leaves down the center of the pan.
In a small bowl, combine the chili and harissa pastes.
When the beef is done, frost like a cake with the seasoning paste, taking care to flip and get the bottom of the beef as well. Sprinkle any remaining spice rub over top.
Add 1 cup beef broth to the pan around the sides of the beef.
Cover and braise 4 hours. Check to see if the meat will shred and add half a cup or so of water if the mixture is looking a little dry. Chuck back into the oven until the meat will shred, checking every hour – mine took 6 hours to just shred, but honestly I could have left it in a little longer.
Shred the beef, adding more water to the onion mixture if it looks too thick – you don’t want the beef swimming in liquid, but you want enough that it stays juicy.
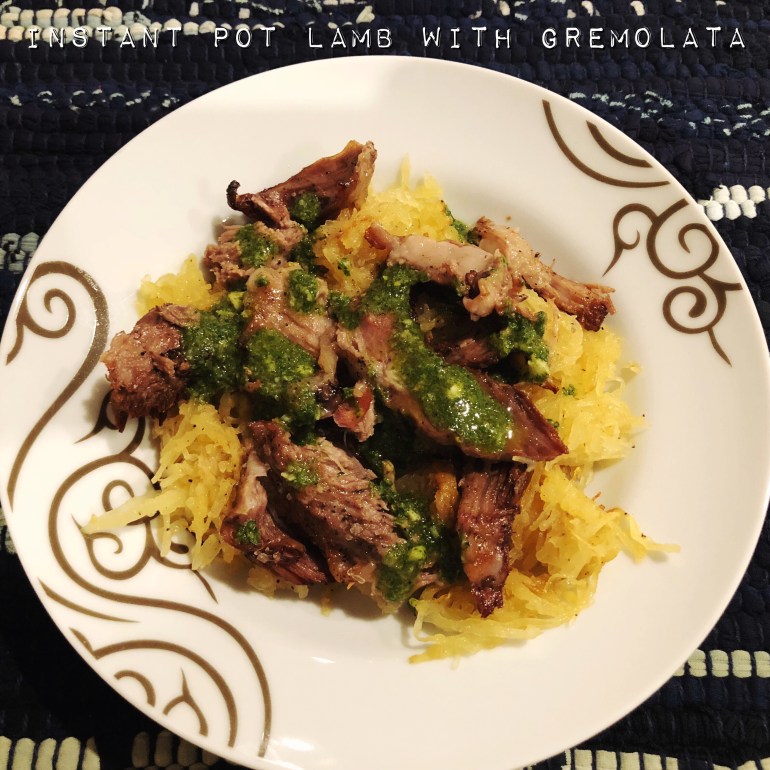
Makes a big meat you can nibble at all week – I served mine in lettuce wraps, over zoodles, over cauliflower mash, over roasted butternut squash, and DH had his with rice.