Life is hard when you’re the d.o.g.

Food • Photography • Life
Life is hard when you’re the d.o.g.

This dish is adapted from Heidi Swanson’s recipe for Black Sesame Otsu from her upcoming book, Super Natural Everyday. If you haven’t visited her food blog (101 Cookbooks) before, go. She is one of my favorite healthy food recipe authors and I can’t wait to get my hands on her new book.
This dish is everything you want in a Spring dinner–nice and light-tasting, not too heavy and packed with green leafy goodness. The only change I would make next time would be adding more cayenne. 2 big pinches just wasn’t enough for us.
Now on to the goodness that is a bowl of Japanese noodles.
Black Sesame Walnut Noodles
1/2 c. walnuts, shelled
1/2 c. black sesame seeds (note: these will end up looking like coffee grounds. If that bothers you, use white sesame seeds)
1 1/2 Tbsp. brown sugar
1 1/2 Tbsp. shoyu
1 1/2 tsp. mirin
1 Tbsp. sesame oil
2 Tbsp. rice (sushi) vinegar
2 big pinches cayenne pepper
12 oz. soba noodles
1 bunch Swiss chard
1 bunch green onions, white and light green parts only, thinly sliced
Handful Chinese chives, chopped (optional)
Put a large pot of salted water on to boil.
Toast the walnuts in a dry pan over medium-high heat until they begin to release their aroma and are lightly toasted. Don’t forget to shake the pan regularly to avoid burnt spots. Add the sesame seeds and toast for only a minute or so, until they smell toasted. Be careful not to over-toast!
Transfer the nuts to a mortar & pestle or bowl of a food processor. Crush until the mixture looks like black sand. Add the sugar, shoe, miring, sesame oil, vinegar and cayenne. Stir to combine and taste for seasoning.
Wash and slice your chard into thin ribbons.
When the water is boiling, add the soba and cook according to package directions until tender (about 3 minutes). In the last minute or so of cooking, add the chard and stir.
When your noodles are tender and the chard is nicely cooked, drain, reserving about a cup of the cooking liquid. Rinse under cold water to stop the cooking.
Reserve some of the sesame paste and the chives for a garnish. Scoop the rest into a large mixing bowl and thin with 1/3 c. of the reserved cooking liquid to form a sauce.
Add everything else to the bowl and toss until combined. Serve topped with the reserved sesame paste and chives.
Serves 2 for dinner, with enough left over for a nice lunch.
S + J ❤

The ceiling in the gym, taken from the elliptical.

Basket palm frond-looking material in the table at Pollo Tropical.
All the love. This is (one of the many reasons) why we love this dog. Here he is, so excited to give the loves he had to do it upside down. Right side up is just too much–this magnitude of the loves must be forcibly given while upside down!

You’ll never guess… eggs & hashed browns with home made corned beef, onions and colorful peppers. Mmm.
Interesting entranceway/sculpture at Sawgrass Mills Mall.


I’ve been a bit nostalgic for one of the places I’ve called home lately. It started with a listing I ran across of Saveur Magazine’s Top 100. Biscuitville made the list! I love Biscuitville! I miss biscuits! We don’t really have Southern-style biscuits in Miami.
This led to a Facebook conversation with an old friend about the biscuits we loved from my college days in Eastern North Carolina. These biscuits were the bomb-diggety and almost ubiquitous on campus, as well as in little local gas stations and breakfast joints (the top examples for me being the The Wright Place on East Carolina University’s main campus and a little ghetto gas station on the outskirts of known town we used to frequent just for the biscuits and cheap cigarettes). This led the Facebook friend and I on an Internet-wide search for the perfect Eastern North Carolina biscuit, which in turn led to stumbling upon a fight that has been raging for ages on the subject on Chowhound. It seems no one can agree on a recipe, or even if the hyper-local biscuits even exist. They *do* exist. And apparently we aren’t the only ex-East Carolinians who remember them with fondness.
These are not Red Lobster-style cheddar biscuits, though (as legend has it) those hail from the Carolinas too. These biscuits are huge (bigger than your hand or cat head sized as some call it), have a nice dense crumb with slightly crispy outside from touching the sides of the pan and come with a thick layer of gooey cheddar-like orange melty cheese in the center. Not, I repeat, Not mixed in with the batter. Those are indeed some great biscuits, but not what I’m talking about here. You might ask, what’s the big freaking deal? They’re biscuits with cheese in the middle. Pop open a can of Pillsbury and be done with it. To which I’d retort, blasphemer! Those aren’t the same thing at. all. These, aside from dipped in nostalgia, are flaky yet toothsome, gooey from the cheese, almost greasy to the touch, and satisfying to the core. These are cheese biscuits that don’t even need a fried egg, country ham or bacon to be good. And that, my friends, is a feat in and of itself.
A note on cheese: Proponents of the biscuit gospel call for something called a “hoop cheese”. According to Wikipedia, hoop cheese is a firm dry cheese made from milk alone and is popular throughout the rural South. I can believe this, though the cheese I remember is more cheddar-like, so I found a nice stout cheddar to slice. What you’re looking for is a good melty cheese that can stand up to a buttermilk biscuit without becoming molten when heated. Something that would taste good wrapped on waxed paper after it has oozed out the side of your biscuit and solidified.
A note on lightness & flakiness: The original author of this recipe likes her biscuits a bit more flaky and light than I was looking for, so I kneaded my dough a bit more than she called for. I wanted a somewhat dense biscuit; if you, like my DH, want lighter biscuits, knead less.
Eastern North Carolina Cheese Biscuits
Adapted from thoroughly researched and vetted recipe for Appalacian Cat Head Biscuits
2 1/4 c. All Purpose flour
3/4 tsp. Kosher salt
1/2 tsp. baking soda
1 tsp. baking powder
4 1/2 Tbsp. chilled unsalted butter
1 c. buttermilk
Stout cheddar-like cheese
Preheat oven to 450 degrees F and spray a baking sheet with nonstick spray.
Mix the dry ingredients in a large mixing bowl.
Add the butter a piece at a time to the dry ingredients with a pastry cutter until you have a mixture the consistency of coarse cornmeal. Although I’m sure the writer of the original recipe would cringe, I very rarely bake, don’t own a pastry cutter, and no one in my life trusts me to dual-wield knives without losing a finger or two like the recipe called for alternately. So, I beat the crap out of the butter with a metal potato masher and hands that I periodically chilled in the freezer until the right consistency was reached. Whatever works.
Make a well in the center of the dry mixture and add the buttermilk. Gently scrape the sides of the bowl and fold the mixture until barely combined. Don’t mix it to death, just incorporate all the dry wispy bits of flour from the sides of the bowl. The dough will be lumpy, sticky in places and shaggy around the edges. This dough is not pretty and to the baking uninitiated like me, will look like it is not going to work. Pick the dough up and knead it carefully in the bowl, turning over with each pass, 3-5 times (I did 5, the original author stuck to 3), until almost all the mixture forms a cohesive mass. Don’t knead any more, or you will get hockey pucks.
To form the biscuits, pinch off a ball of dough about 2 1/2 inches around and form into a thick free-form patty. This recipe should yield 6 large biscuits. Bake for 15 minutes or until golden brown.
Slice and serve with sturdy cheddar-like cheese, heating in the microwave until just-melted.
Chive flowers
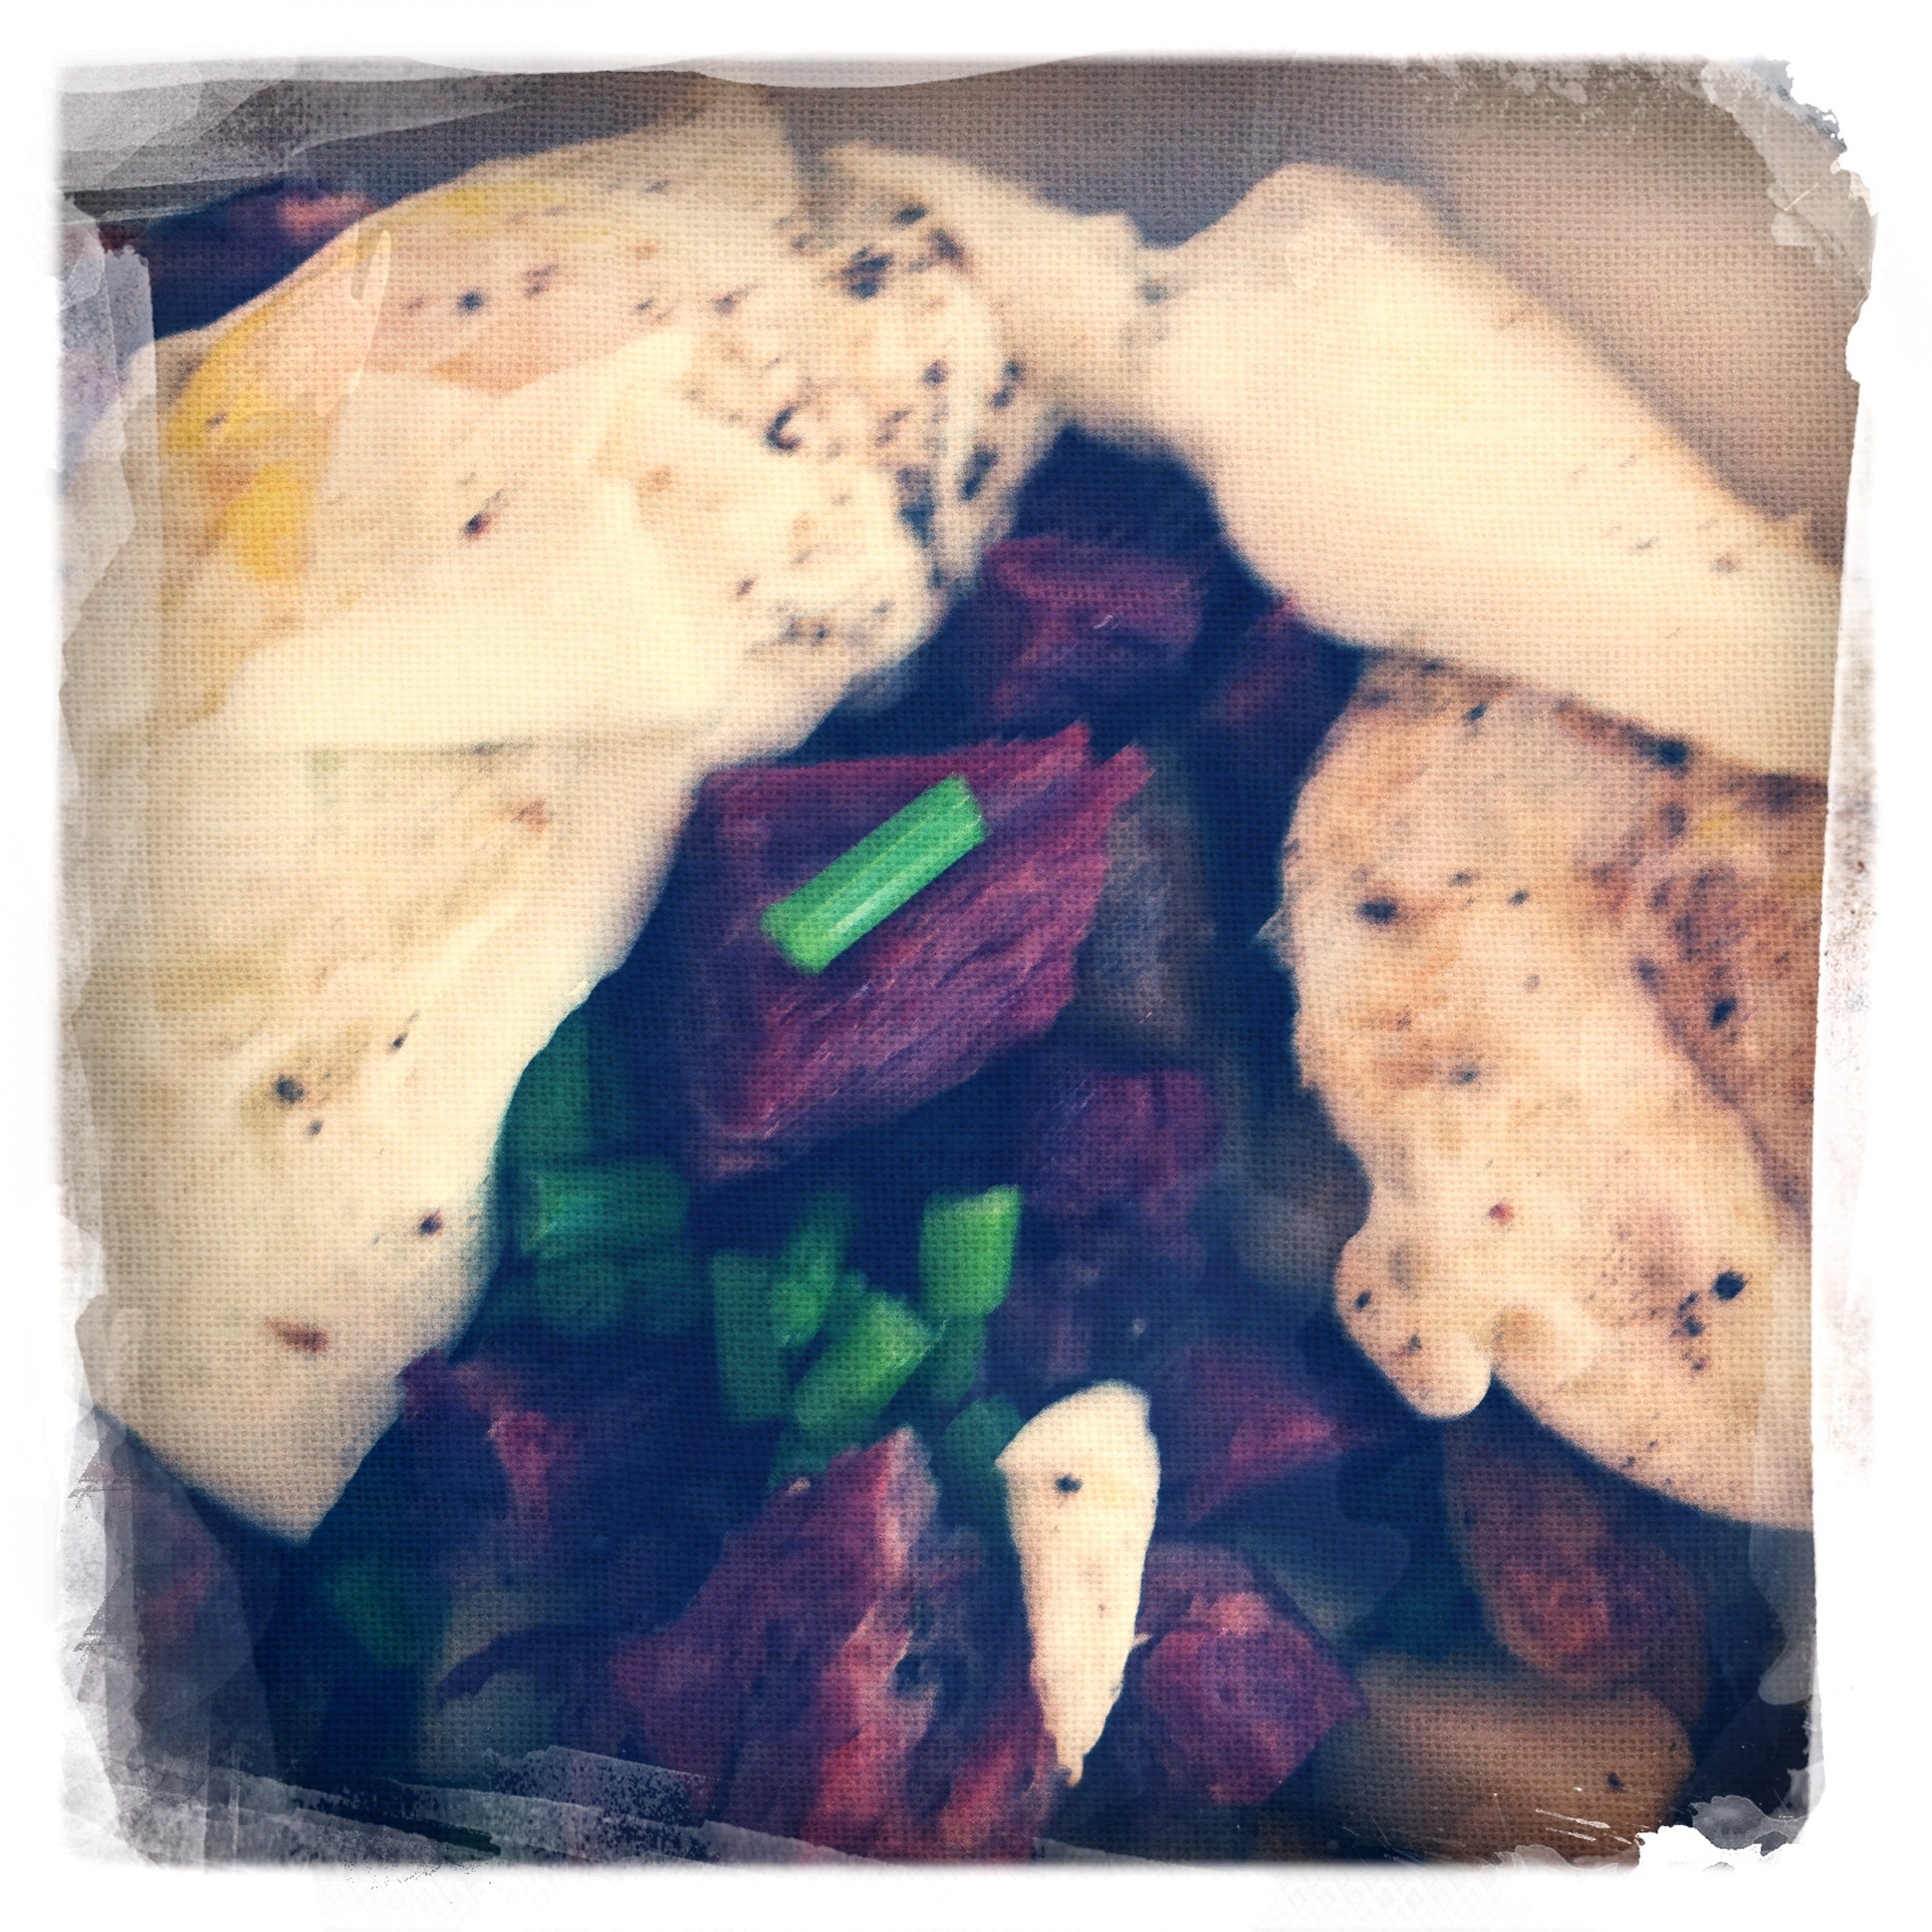
 Picked up during my most recent Chinese market foray, these sturdy chives made a welcome addition to last night’s black sesame otsu.
