This recipe sounds simple but omfg it’s like comfort in a bowl. If you’re thinking about skipping out on the browning stage for your chicken because you’re lazy: don’t. I often do (see previous excuse) and I’m beyond glad I didn’t for this recipe. It absolutely made the rice.
gluten-free, FODMAP friendly
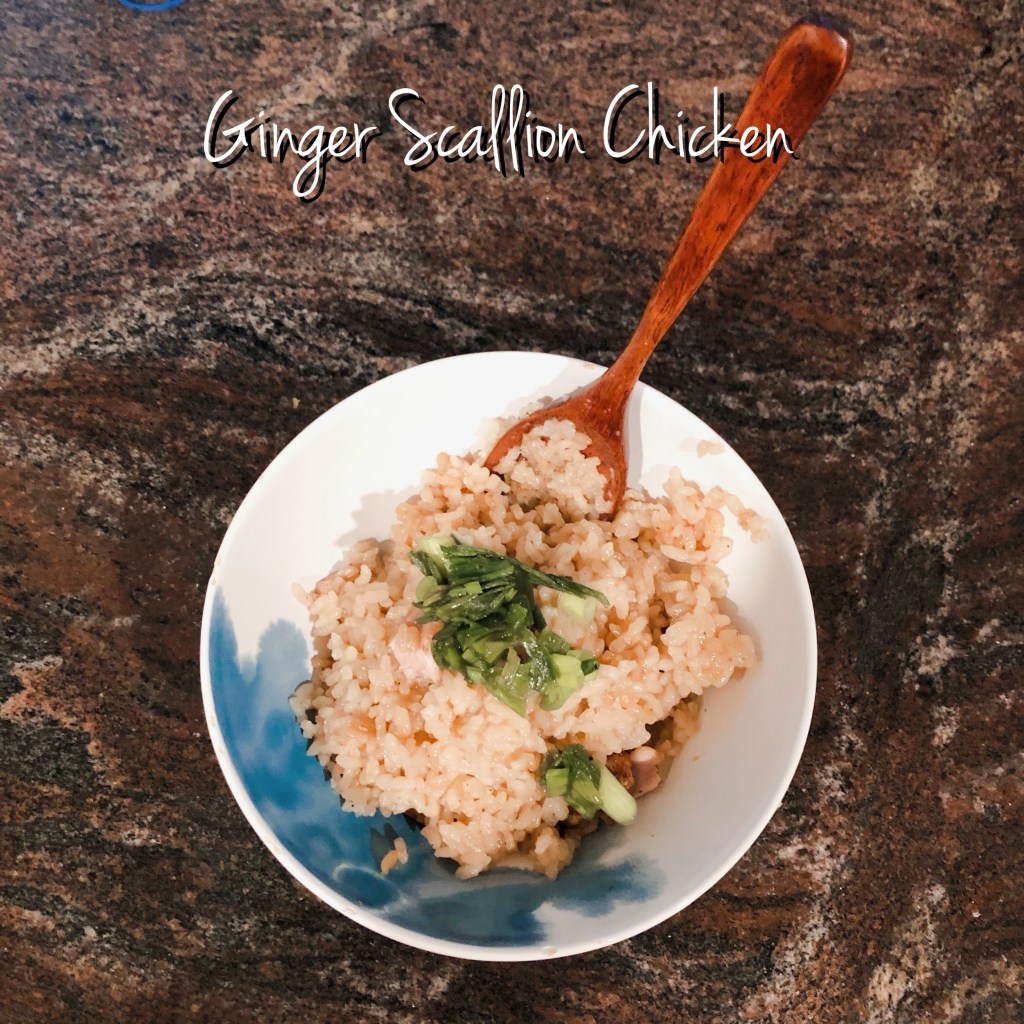
Ginger Scallion Chicken
4 boneless chicken thighs
2 inches ginger, peeled
1 cup rice (I used sushi rice because that’s my family’s favorite)
2 cups water
2 Tbsp. soy sauce or coconut aminos
1/4 cup + 1 Tbsp. rice vinegar, divided
1 tsp. salt + sprinkling salt
2 tsp. sugar
1/4 – 1/2 tsp. red pepper flakes
6 scallions
Black pepper
Fat of choice
Note: Other versions of this recipe call for onion and garlic; if you’re not FODMAPping, these would be lovely additions, I’m sure
Sprinkle your chicken with salt & pepper. Chuck into a pan over medium-high with a little fat (I used garlic oil) and cook until browned on both sides.
While the chicken is working, add the rice (wash if you wash rice; I can never be bothered and really liked the way it was kind of pasty in this dish – reminded me of a casserole), water, 1 tsp. salt, 1 Tbsp. rice vinegar, soy sauce, and the chunk of ginger.
Place the chicken and any pan drippings on top of the rice, hit the rice button and cook until done. If you’re not using a slow cooker with a rice function, cook rice however you cook rice with the chicken on top – the little bits of chicken fat and the juices from the meat run into the rice creating yummy goodness.
While the chicken and rice are going, chop the green onions (if you’re FODMAPping, green parts only) and add to a small bowl with the 1/4 cup of rice vinegar, sugar and red pepper flakes. Mash as best you can with a spoon – or, if you have one, mash in a mortar with a pestle. That would be great. Mine didn’t mush up as much as I wanted with a spoon but the onion still broke up enough to release some good flavor. Taste yours and if you want another tiny bit of sugar add that in. I was on the fence about adding more sugar to mine, but left it out because I like a nice acerbic bite.
To serve, fish the ginger chunk out of the chicken & rice and top with the scallion dressing. I mixed mine together for leftovers and that worked even better for subsequent meals.
Serves 2 for dinner and 2 for lunch