My DH hates turkey burgers with a passion. He hates their denseness, their dryness, and their (usual) complete lack of character.
He does not hate *these* turkey burgers. They’re juicy little flavor bombs with enough chew to make you not even notice the lack of a bun. And with this kicky little slaw as a side, the meal gets better and better.

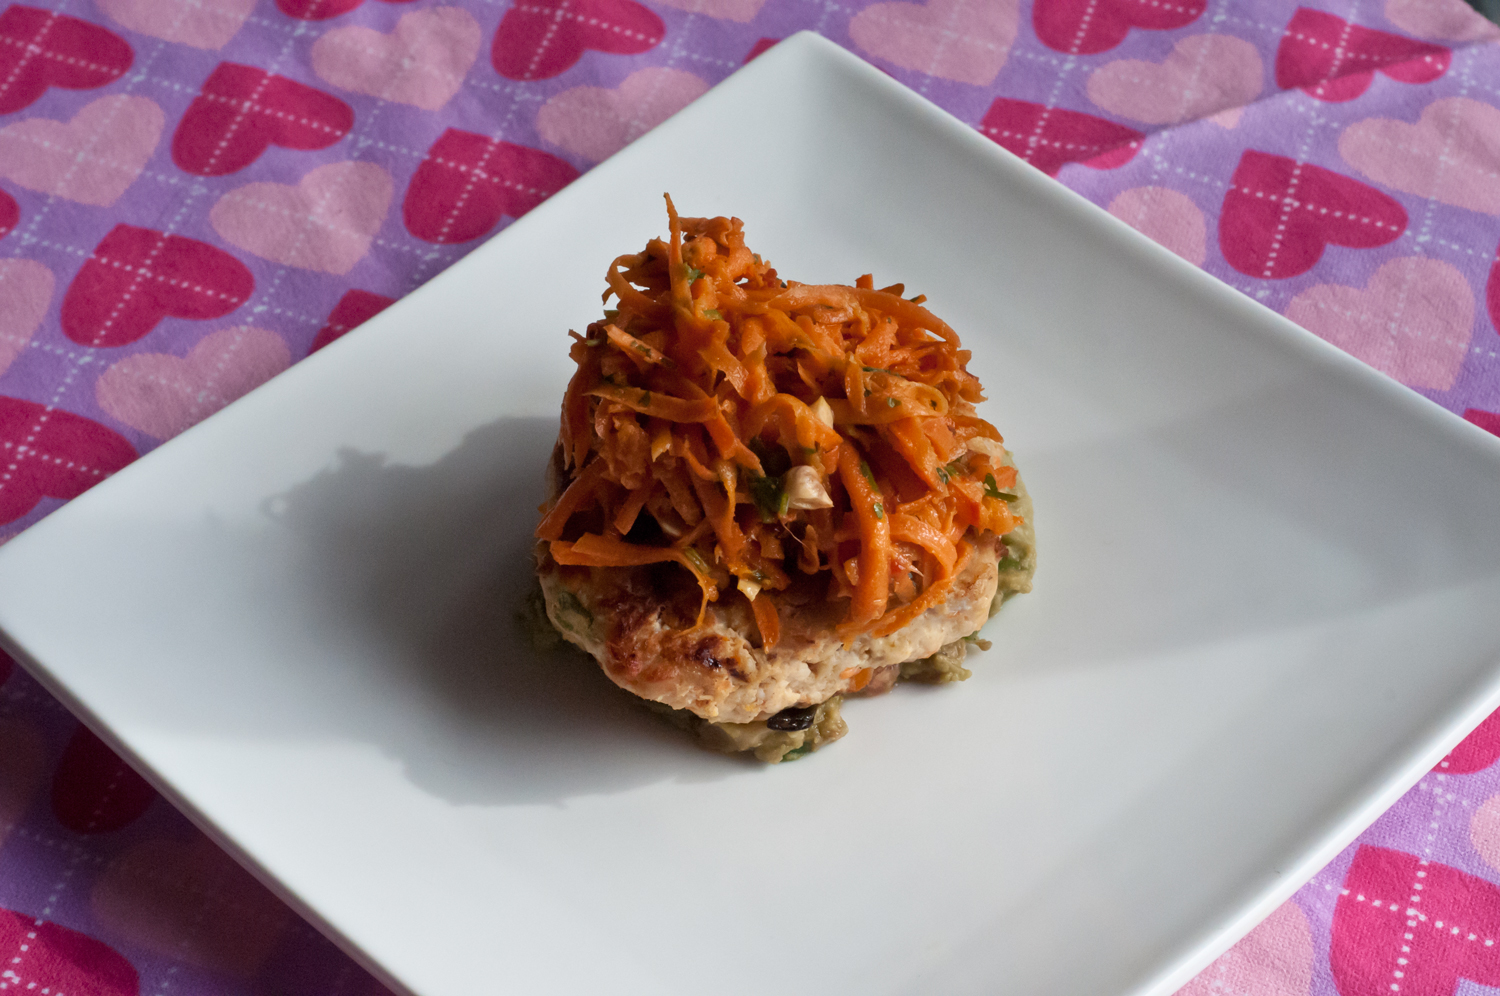
Thai-Style Burgers with Spicy Carrot Slaw and Sweet Potato Fries
Adapted from Thai Turkey Burgers by How Sweet It Is
Burgers
1 pound ground turkey (or chicken)
2 scallions
2 carrots
Big pinch salt
Few grinds black pepper
Coconut oil for the pan
Sauce
1/4 c. chili garlic sauce (Sambal Olek)
1/4 c. rice wine vinegar
1/2 c. canned coconut milk
2 Tbsp. maple syrup
1 Tbsp. almond butter
Thumb-sized knot ginger
1 lime
1 Tbsp. coconut aminos
Slaw Topper
4 carrots
1/2 c. cilantro
1/2 c. cashews
Sweet Potato Fries
1 large sweet potato
Grapeseed oil
Salt
Pepper
Smoky grill spice or any other really yummy seasoning meant to go on meat
First thing’s first. Let’s get those fries working. Set your oven to 425 (F). While your oven is heating, wash and peel your sweet potato and cut it into large fry shapes. (I had a huge over a pound potato, so I halved mine width-wise, then length-wise before cutting into oven fry shapes – you do whatever is appropriate for your potato size and shape).
Rub your fries with grapeseed oil and toss with salt, black pepper and some sort of yummy grill seasoning. I happen to have had a really good smoky seasoning I wanted to take for a test run.
When your oven is preheated, pop the fries in and set the timer for 12 minutes. When the time is up, flip your fries and set the timer for an additional 12 minutes – your fries should take from 25-30 minutes to cook total. Make sure to watch them during the last cooking period – they burn fast.
While the fries are working, move onto some mise. Grate all your carrots – I use a food processor, and it makes life much better. Portion out about 1/4 c. for the burger and 3/4 c. for the slaw. Add the burger carrots to one bowl and the slaw carrots to another.
Thinly slice your scallions and add to the burger bowl. Add the salt, pepper and turkey.
Chop the cilantro and add to the slaw bowl. Toast the cashews in a dry pan until just beginning to brown – remove and chop. Add to the slaw bowl.
Now move on to the sauce.
Grate the ginger and add to a small saucepan. Juice the lime and add along with the rest of the sauce ingredients. Whisk to combine (until smooth-ish). Bring the sauce up to a boil, reduce the heat to a simmer, and cook 3-4 minutes (or until beginning to thicken). Set aside.
And now for the burgers. Heat a large skillet over medium-high heat. Add 1 Tbsp. coconut oil and bring up to temperature.
Add 3-4 Tbsp. sauce to the burger bowl – work everything in the burger bowl until it comes together. Beware – the mixture will be pretty wet, but that’s ok. Portion out your patties and place into the skillet as you go – you should have enough for 4 nice-sized burgers. Cook the burgers 4-5 minutes per side, or until nicely golden brown. Be careful when flipping.
Add another 3-4 Tbsp. sauce to the slaw bowl and toss to coat.
To serve, top each burger with a heaping helping of slaw and more sauce if desired. The sauce also makes an excellent dip for the fries.
Can easily serve 4 for dinner with the appropriate amount of fries, or 2 for dinner with 2 lunches left over.