Oooooh, this is a good one. Velvety, unctuous, vegan – and delicious.
If you’ve got it, some quickly fried tempeh would be fantastic – and location-appropriate- here. I used crisped tofu, which is also great.
Gluten-free, vegetarian, vegan
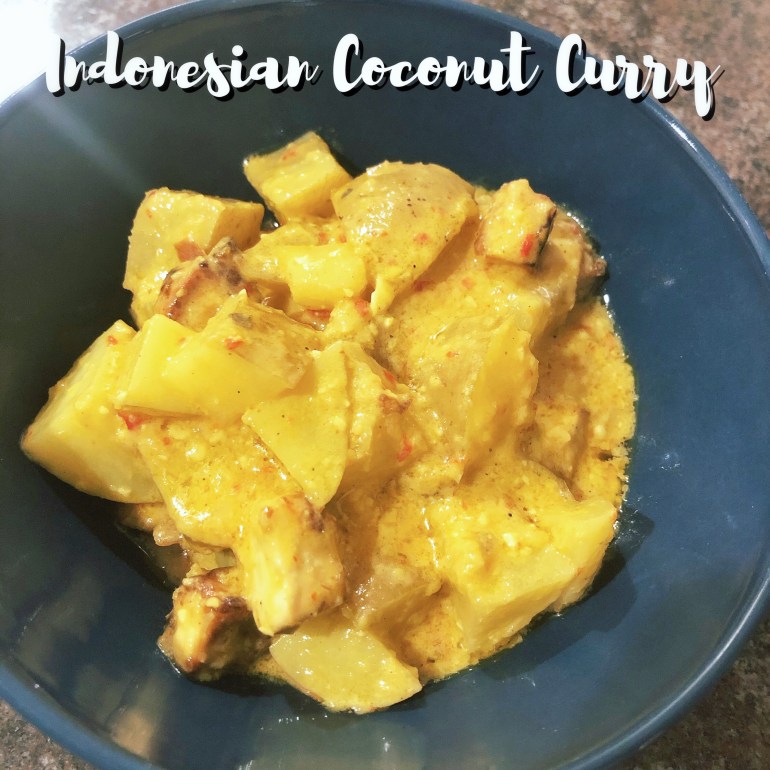
Indonesian Coconut Curry
3 cloves garlic
2 small shallots
2 red chilis
1 Tbsp. turmeric powder
1.5 inches fresh ginger
4 macadamia nuts
1 tsp. ground coriander
1 tsp. black pepper
Few grinds salt
4 Tbsp. coconut oil
6 small white potatoes
1 can light coconut cream
3-4 kaffir lime leaves
1 pkg. extra form tofu
1 Tbsp. neutral oil
1 Tbsp. coconut aminos or soy sauce
1 Tbsp. cornstarch
First, preheat the oven to 200C (375F).
Prep the tofu by slicing into bite-sized squares, covering with paper towels or a tea cloth and pressing with something heavy. Let sit half an hour.
Delicately place in a large bowl. Add the oil, coconut aminos and cornstarch – lightly fold to combine without breaking.
Turn the tofu out onto a prepared baking sheet in a single layer, ideally with a little space between the pieces. Bake 10 minutes, flip, and bake an additional 10 minutes or until crisped up and browned. Remove and set aside.
Make a curry paste by whizzing everything above the coconut oil in a food processor until a paste forms, adding a little water if necessary.
Chop the potatoes into bite-sized pieces.
In a large pan, heat the oil over medium heat. Add the curry paste and fry until very fragrant and just beginning to brown.
Add the potatoes, coconut cream and kaffir leaves and stir to combine. Sautée 15 – 20 minutes, stirring occasionally, until the potatoes are softened and the sauce reduces down to a velvety smoothness.
In the last 5 minutes of cooking, fold in the crisped tofu.
Serves 4