Delicata squash is my new favorite thing. I’d forgotten how it basically tastes like fall candy. Y-tothe-U-tothe-M. This easy to slap together salad + squash combo makes a decadent dinner dish when paired with a quick pan seared duck breast. If your squash makes it that long – I had trouble getting the amount I did to the table and away from grazing hands.
As written, this recipe isn’t wholly paleo – if you want a paleo-friendly version, swap the olive oil you bake with out for coconut and omit the miso (or sub a little coconut aminos).
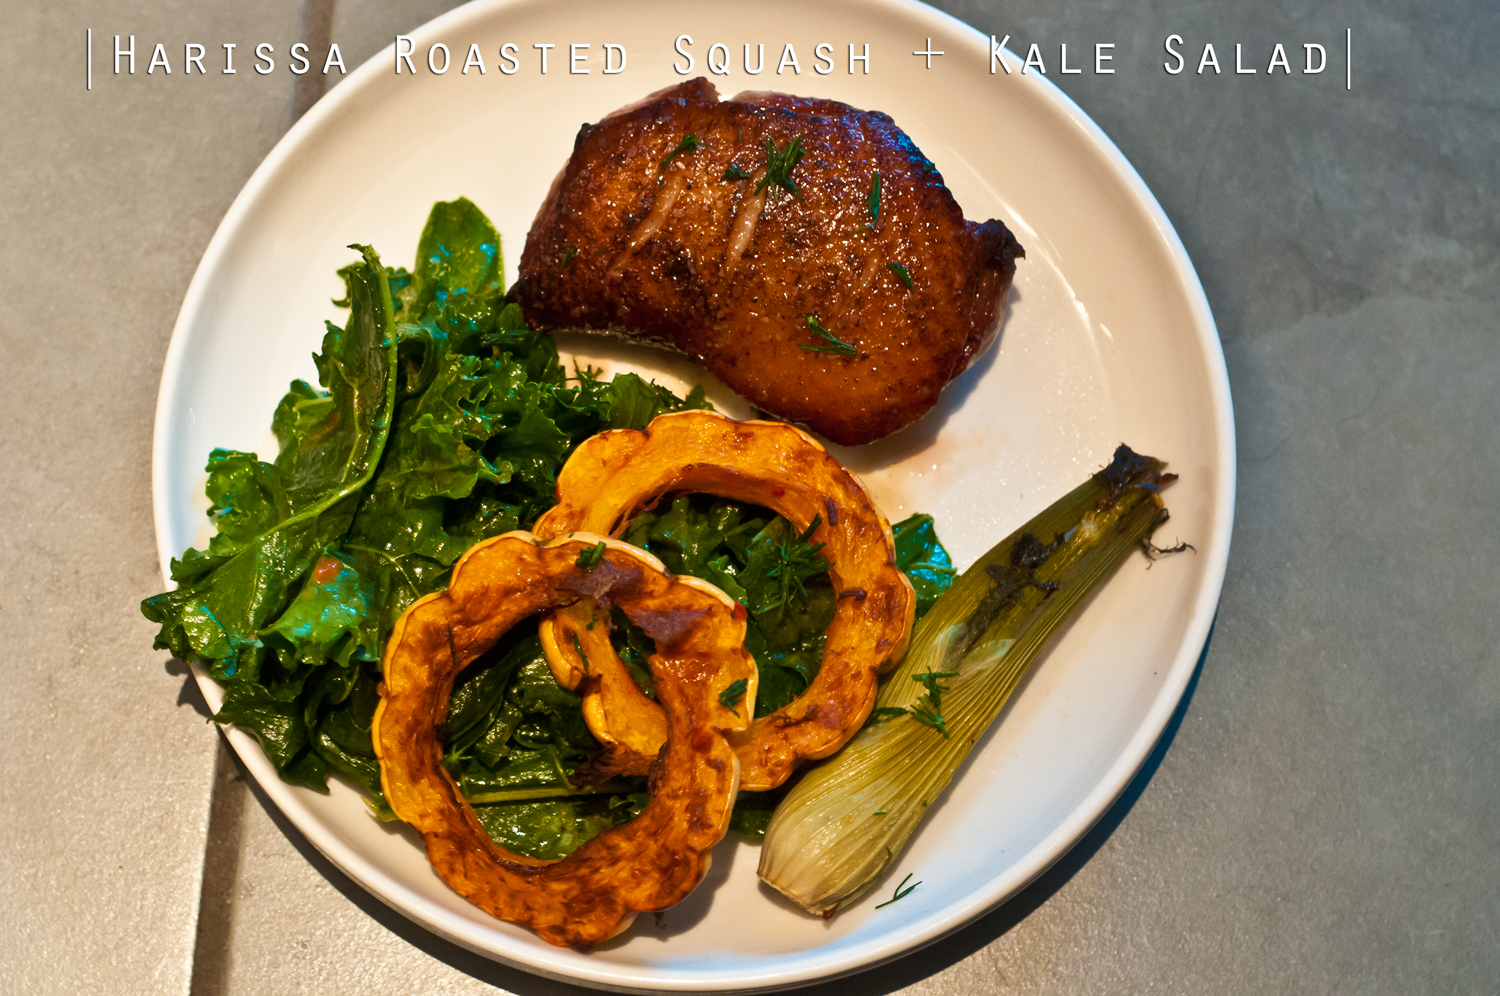
Harissa Roasted Squash + Kale Salad
For the Squash
1 delicata squash
1 Tbsp. harissa (my favorite brand is Mina)
1 Tbsp. olive oil
1 bunch baby fennel
For the Salad
1 bunch kale
1 Tbsp. harissa
1 Tbsp. olive oil
Juice of 1/2 a lemon
Ras el hanout (optional but tasty)
Kosher salt
Preheat your oven to 425 F. Line a cookie sheet with foil.
Slice the ends off your squash and push the seeds out with a spoon. Slice into 1/4-inch rounds. Clean and trim your fennel.
Toss the squash and fennel with 1 Tbsp. harissa and 1 Tbsp. olive oil and arrange in a single layer on your prepared sheet – making sure not to crowd, working the fennel around the squash.
Bake 20 minutes, flip, and bake another 20 minutes or until browned and nutty on both sides.
While the squash is doing it’s thing, make the salad.
Wash and cut your kale into bite-sized pieces.
In a large bowl, whisk the miso, harissa, olive oil & lemon juice.
Massage the dressing into the kale and sprinkle with salt and ras el hanout. Continue tossing and massaging and adding salt & spices until all your leaves are glistening and your spice/salt level is where you want it.
Serve.
Makes enough salad for 3-4 and enough squash for the same (if you don’t eat it all before it hits the table).


 </a
</a

