Mmmmm….. waffles. Savory, savory waffles. It should come at no surprise that I’m not a huge fan of a sweet waffle – dessert for breakfast has never really appealed to me (plus: that much sugar has pretty much always made me sick), but breakfast for dinner – now that’s a different story. Bring it.
This waffle came about because I was craving waffles, wanted a sandwich, and haven’t found a paleo bread I actually want to eat as part of a sandwich. To me at least, white potatoes aren’t really paleo – but they *did* come in my last CSA batch, so they needed to be eaten. This waffle is the perfect delivery system (and a good way to make sure you don’t go carb crazy!) I served 1/2 a waffle with a nice spicy kale & chard salad (recipe coming soon) and pulled beef – for a dinner that was decadent, delicious, and wholly satisfying.
Rock on, potatoes, rock on.
Paleo-ish (you could totally swap the white potatoes for sweet here), vegetarian, vegan (swap the fat)
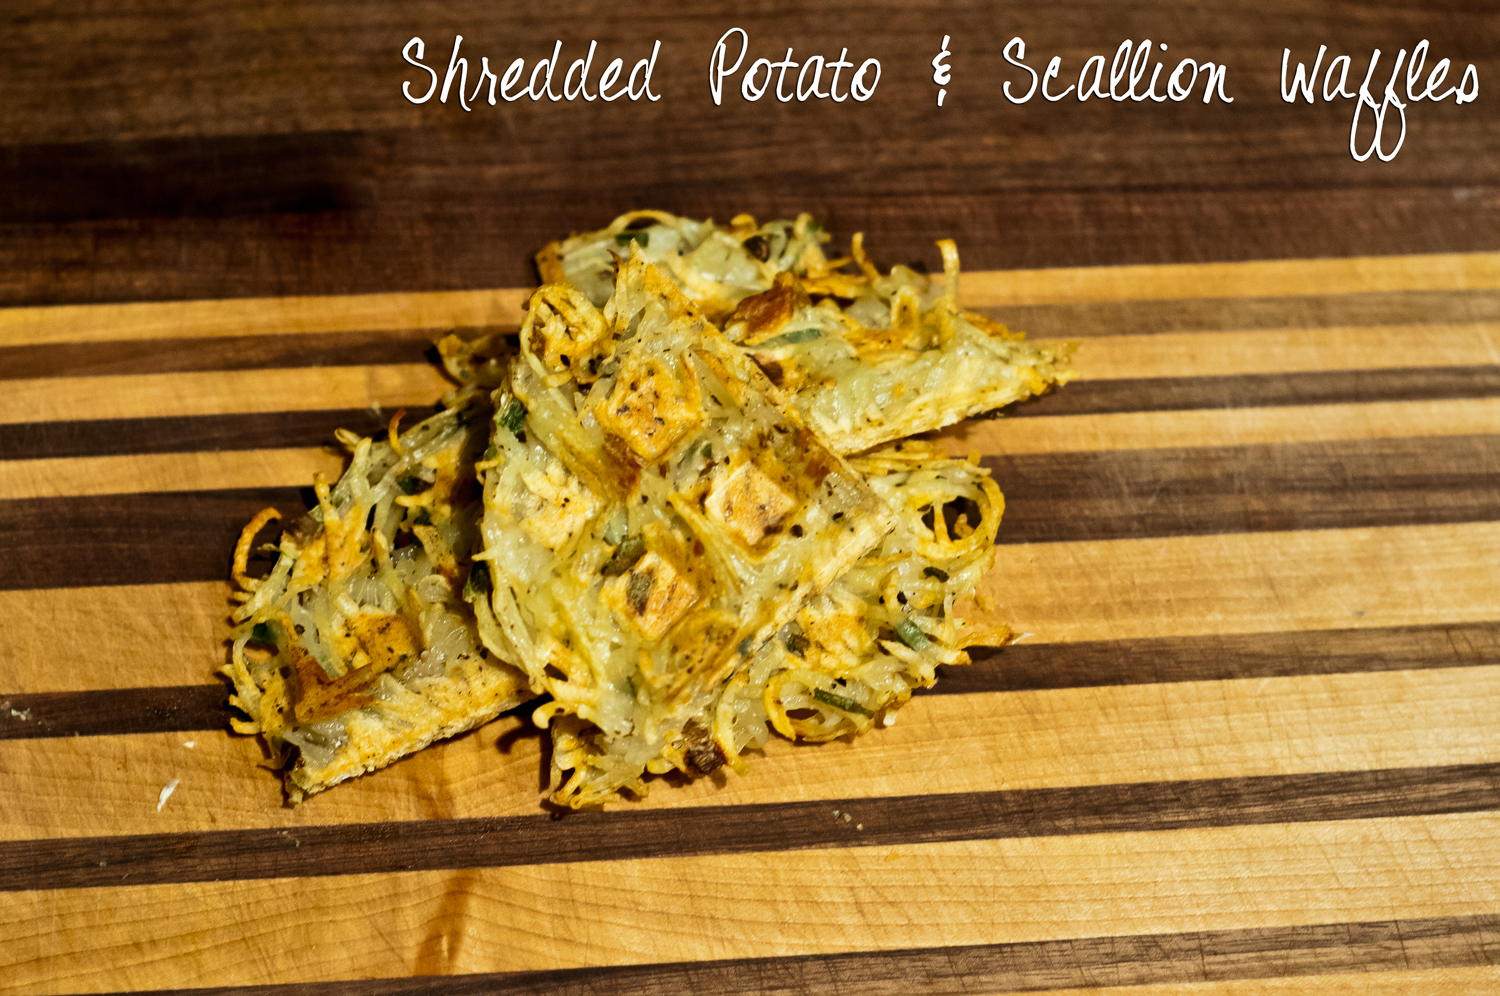
Shredded Potato & Scallion Waffles
2 russet potatoes
4 scallions
Kosher salt & fresh black pepper
Ghee
Peel and shred the potatoes (I used the shredding disc attachment for my food processor and would highly recommend going this route). Press between paper towels to get as much liquid as possible out.
Dump into a large bowl. Thinly slice the scallions, adding to the bowl when finished.
Toss to combine. Hit with some salt and a few grinds black pepper. Toss and hit again.
Preheat your waffle iron to medium. When it beeps, brush both sides of the hot iron with ghee.
Put half the mixture on the iron bottom, making sure to distribute evenly. Close and flip.
Cook 10 minutes, check to see if golden brown and crispy. If so, cool, you’re done. I needed 10 additional minutes on mine.
Cut into quarters and serve.
Serves 4 (half waffle portions)