I’ve had it in my mind for awhile to play with portraits in Photoshop and have recently found a bevy of tutorials to help with inspiration.
With this first set, I decided to eschew the tutorials and instead play with one of my favorite effects, lomography, and different textures.

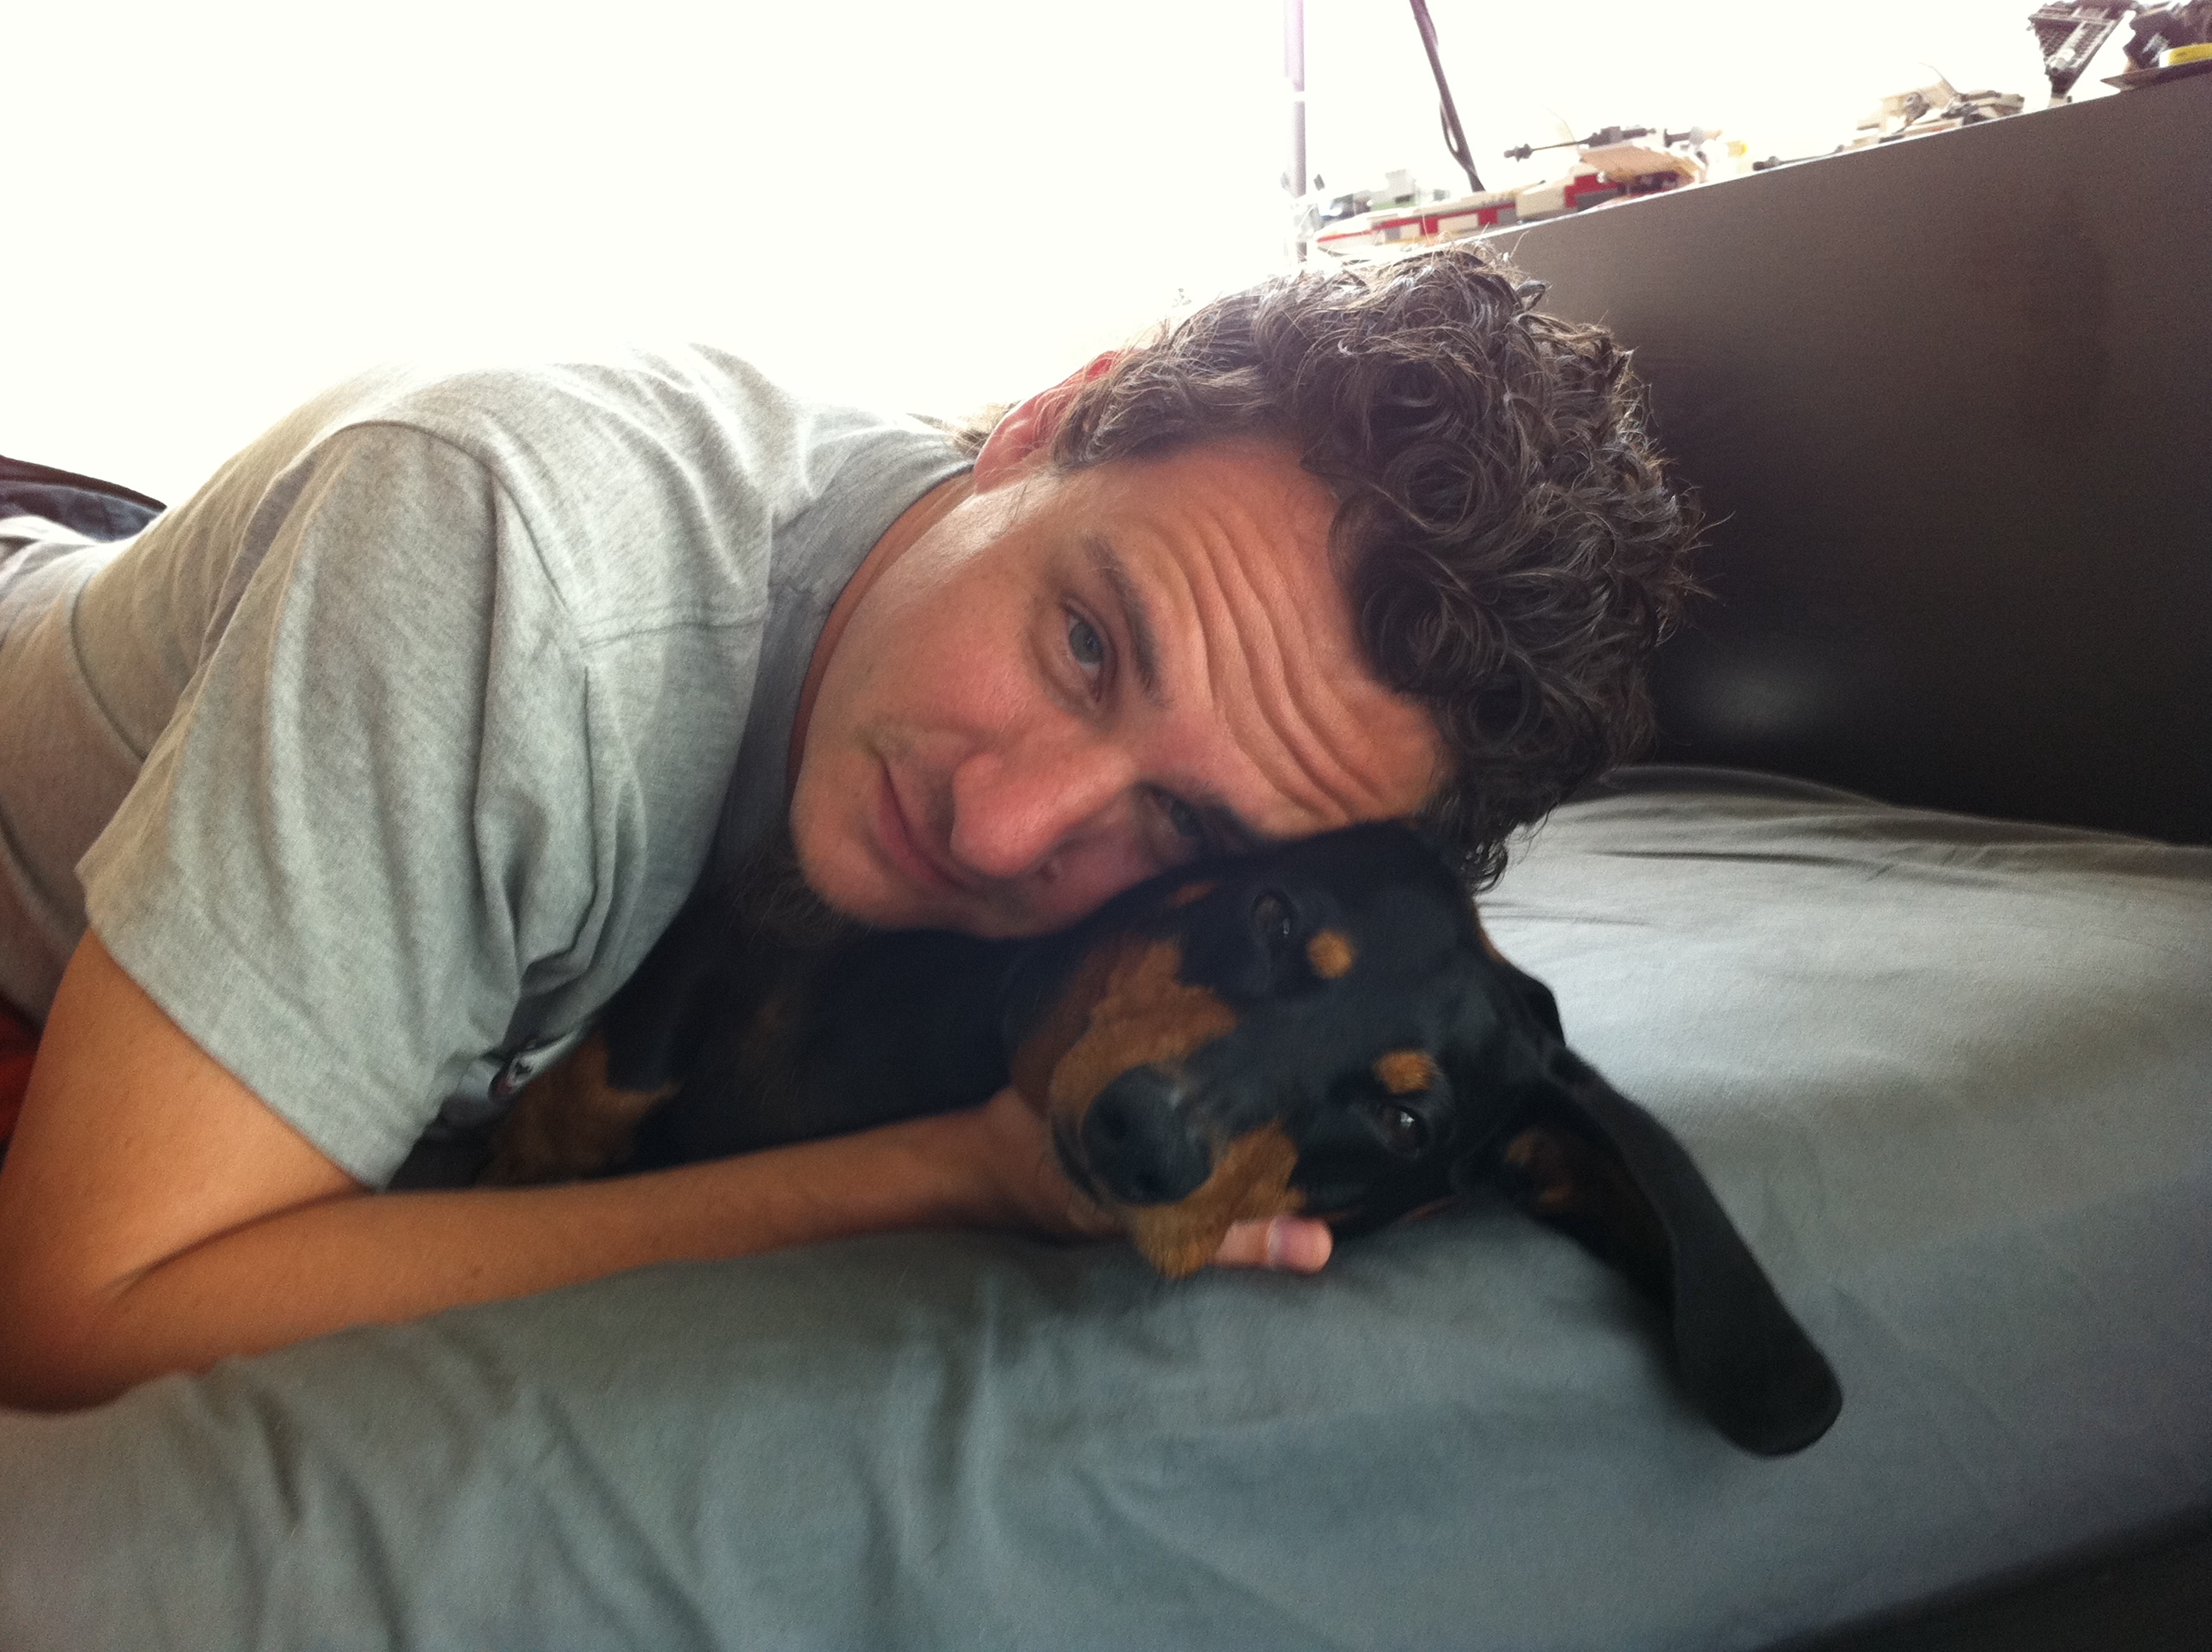
This is the original untouched version, taken during lunch this afternoon.

This version incorporates some light color correction and some fairly hefty blurring/halftoning of the background. I hate the car, but short of creating a mask and running the risk of making my DH look like he was somewhere he was not, I decided to (almost) live with it.
w")
This version was run through a simple lomography action set in Photoshop. I love the green tones and popped colors.
texturedw")
This version incorporates two different textures with the lomo (see below); a distressed metal/burned film texture and a copper bokeh pattern. I like the end result; my DH says it makes him look old and vaguely creepy. I don’t see the old, and I happen to like vaguely creepy portraits. Bonus: I hardly even notice the hated car in the background.