This recipe was inspired by the amazeballs blueberry lavender coffee cake with lemon curd I had at the St. George bakery while celebrating a friends wedding in Helsinki.
This coffee cake was fantastic. Full of blueberries, on the thin side for a coffee cake, deeply caramelized, with a really great herbaceous hit in the bites with lavender.
So freakin delicious.
This recreation isn’t that, but it’s good. Couldn’t find lavender and forgot about the lemon, but the coffee cake turned out well. Next time, I’d use steeped tea in place of the water and maybe add a touch more tea leaves – maybe another half bag – some people could taste the tea, but I didn’t get the slightly bitter note I was going for. I would also maybe just use blueberry purée instead of jam – the cake was a touch sweet for my taste for multiple servings.
Vegetarian (lacto-ovo)
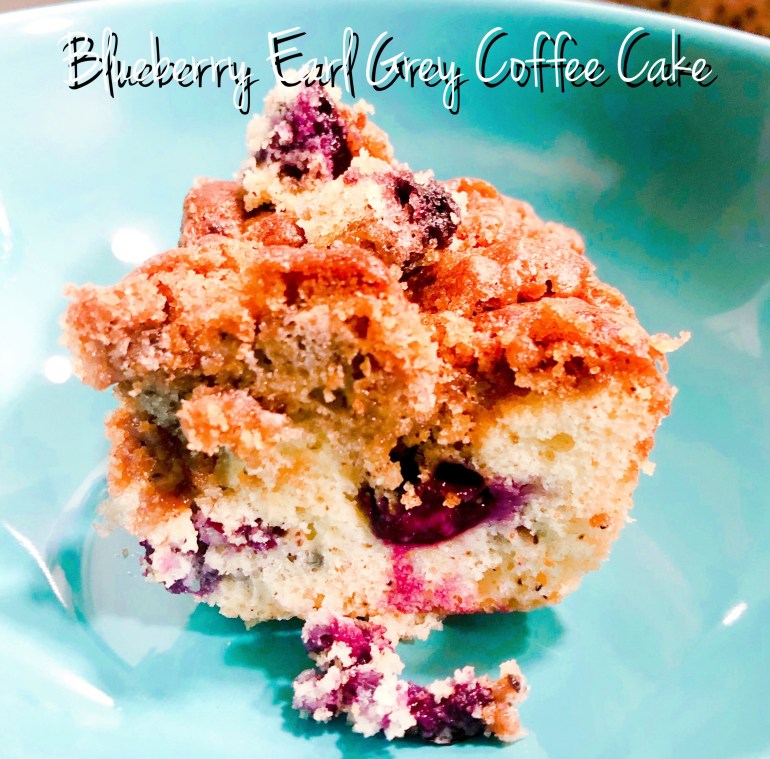
Blueberry Earl Grey Coffee Cake
Cake
15.25 ounce box yellow cake mix, reserve 1 cup
2 eggs
2/3 cup water (or strong brewed tea)
1/2 cup all purpose flour
1/4 cup canola oil
1 bag Earl Grey lavender tea, pulverized time dust
Topper
1/4 cup blueberry preserves
As many blueberries as you want
Crumble
1 cup reserved cake mix
1 cup packed brown sugar
1/4 cup melted butter
1 teaspoon cardamom
1 teaspoon cinnamon
Preheat your oven to 350 F/180 C.
Line a small casserole with baking paper and spritz with oil.
In a large bowl, combine the cake ingredients. Mix with electric beaters on low until the dry ingredients are incorporated. Scrape the sides of the bowl to get everything and mix until no lumps are left.
Turn out into the prepared pan, reserving about 1/4 cup of the batter. Sprinkle the blueberries over the top of the cake.
Mix the jam with the reserved cake batter and pour over top.
In a medium bowl, mix the crumble ingredients with a fork until combined into crumbs & pebbles. If your mix is a little wet, add a sprinkle of flour.you’re looking for a mix of sandy crumbs and small pebbly bits.
Sprinkle crumble over the cake.
Bake 22 – 30 minutes or until a knife inserted in the middle comes out clean. If your cake is browning too quickly, tent with foil.
Serves a bunch